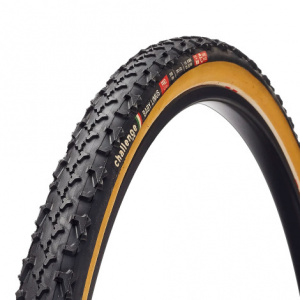
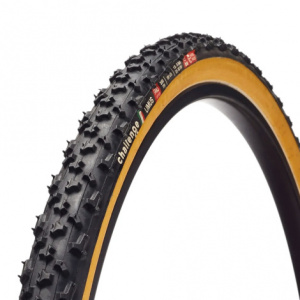
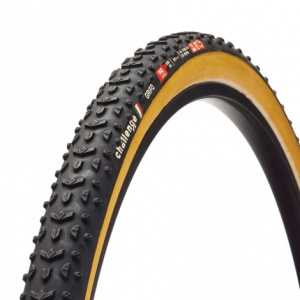
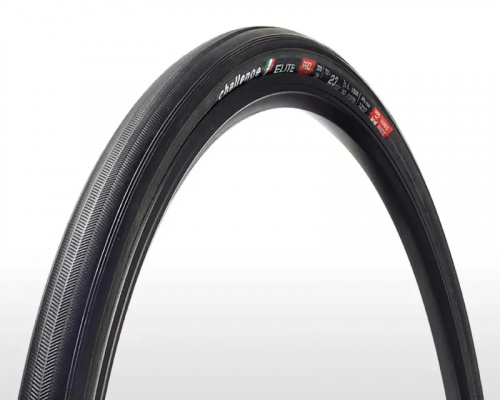
Challenge Tubulars
Challenge tubular tyres sit at the sharp end of what a hand-built tyre can do - whether that's a set of Limus treads clawing through ankle-deep Norfolk winter mud or a pair of Stradas humming over wet Cotswold tarmac. Built around Corespun cotton or silk casings and seamless latex inner tubes, these are tyres that deform to the ground rather than fight it, giving you a contact patch and cornering feel that no clincher can genuinely replicate. The casing suppleness is the thing - at low cyclocross pressures, the tyre wraps around roots and off-camber wet grass rather than skittering off them. That tactile feedback is why elite mechanics and serious club racers keep coming back. Challenge's lineup runs from the Grifo's dependable all-around grip through to the deep-mud-specific Limus and on to road-focused rubber, covering most disciplines where a glued tubular makes sense. One important note before you dig in: this page covers glue-on tubulars only. If you're after clincher-compatible options that share the same high-TPI handmade casings, head over to our Challenge road tyres or Challenge gravel and cyclocross tyres pages instead.
Prices and availability can change quickly. Delivery charges are not always included in listed prices.
Final price, stock status and delivery terms are set by retailer. We may receive a commission on purchases made.
Compatibility, Rim Requirements and Getting the Installation Right
Challenge tubulars are strictly for tubular-specific rims. There's no workaround - you cannot stretch these onto a clincher or tubeless-ready rim bed, and attempting it will damage both tyre and rim. If your wheels have a hookless or standard clincher profile, you're looking at the wrong page.
Installation is where most problems start. There are two routes: traditional mastic gluing or tubular tape. For road use, tape is a reasonable shortcut. For UK cyclocross racing, where you're cornering hard at 20 - 25 PSI through slippery off-camber sections, traditional gluing is what the mechanics at the top of the sport use for good reason - a rolled tyre mid-race is a bad day. The process involves applying multiple thin layers of tubular rim cement to both the rim bed and the tyre's base tape, letting each layer tack off before mounting and inflating. Patience here isn't optional.
Check the valve core before you start. Many Challenge tubulars ship with removable valve cores, which matters if you're running deep-section aero wheels. If you're using a 50mm or deeper rim, you'll want to look at compatible valve extender options to avoid fighting with your pump head mid-glue session. Get the prep right and these tyres are genuinely reliable; rush it and even the best casing in the world won't save you.
Understanding the Casing Tiers: Team Edition, Pro and What the Numbers Mean
Challenge structures their tubular range across two main tiers, and the price gap between them reflects real differences in how the tyre rides rather than just badge value.
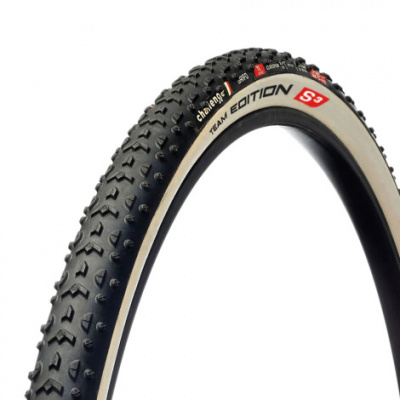
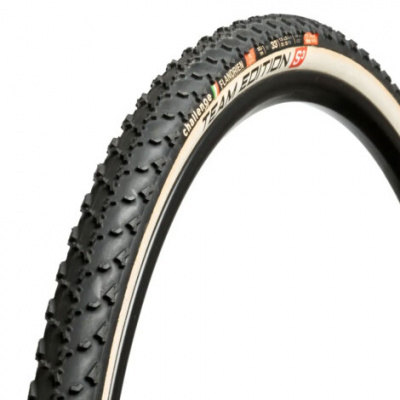
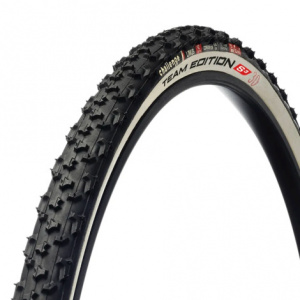
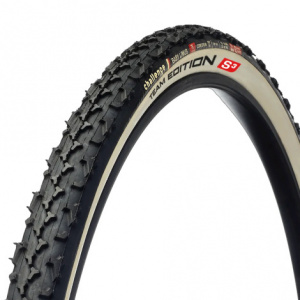
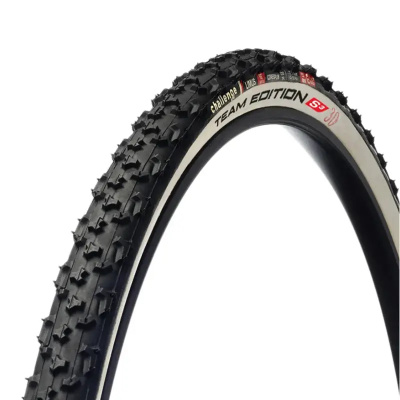
The Team Edition sits at the top. These use Corespun Cotton or Silk casings - typically 320 TPI or higher - wound from ultra-fine threads that produce a casing so supple it almost breathes. The rubber compound is unvulcanized, which keeps the tread pliable and sticky in the cold, damp conditions that define a British cyclocross autumn. This is the tier the pros are racing on, and the difference under your hands when you're scrubbing speed into a wet hairpin is tangible.
The Pro series uses a Superpoly casing at around 300 TPI. Still handmade, still a significant step above machine-made alternatives from brands like Tufo or entry-level Vittoria tubulars, but marginally more robust and slightly less reactive underfoot. For a club racer doing multiple muddy events through winter, the Pro casing's added durability is often the smarter call.
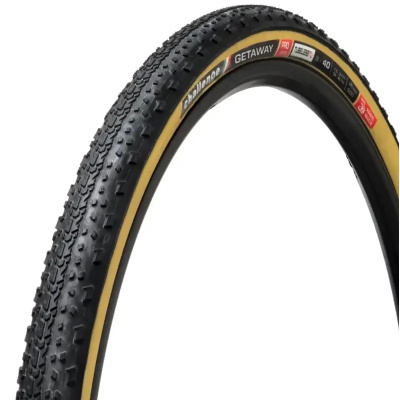
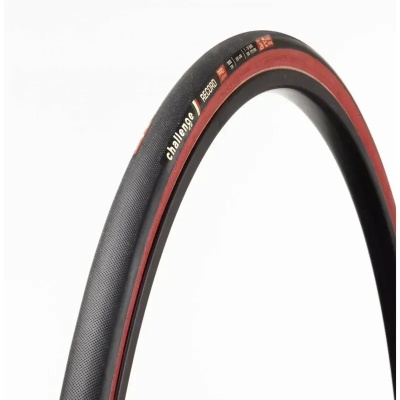
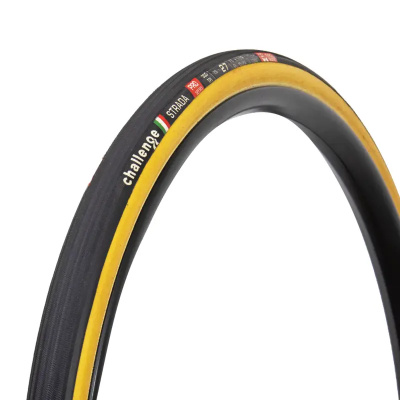
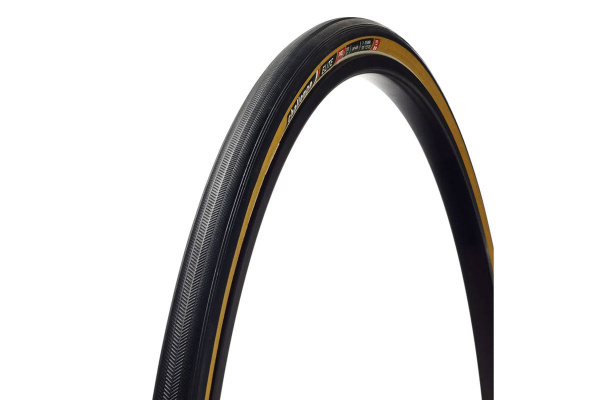
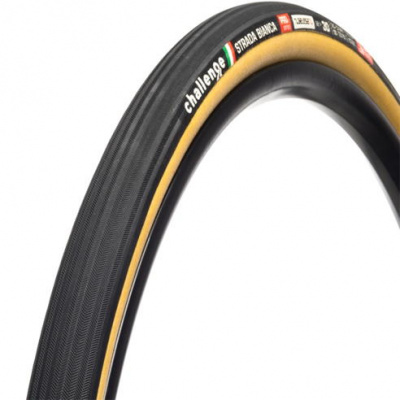
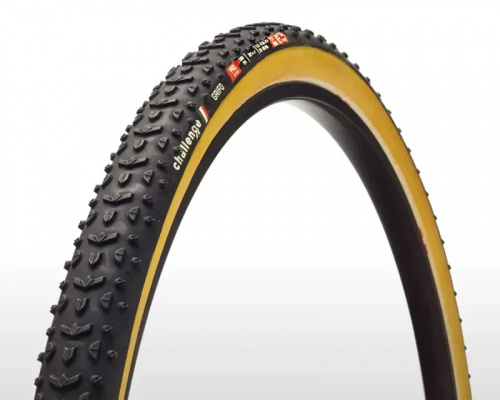
Tread selection is where you match the tyre to the conditions. The Grifo is the workhorse - a versatile open tread that handles mixed UK cross conditions well, from hardpack to moderate mud. The Limus is the deep-mud weapon: widely spaced, self-clearing knobs that keep working when a Grifo starts packing and losing traction. The Chicane suits sandier or icier ground, a profile you'd reach for on the East Anglian coastal courses rather than a Peak District clay-fest. For road racing, the Strada puts that latex inner tube and supple casing to work on tarmac, where rolling resistance becomes the obsession rather than grip. Across all models, the seamless latex inner tube is consistent - it's a meaningful rolling resistance advantage over butyl, and it's one reason Challenge tubulars feel faster than their weight alone would suggest. Dugast and Michelin occupy similar quality territory at the top, so if Challenge's tread patterns don't match your course profile, those are the places to compare.
Keeping Challenge Tubulars Alive Through a UK Winter
Cotton casings and British winters aren't natural allies. The base tape - the woven strip that bonds to the rim - can absorb water and begin to rot if left unchecked across a long, wet season. The fix is straightforward: apply a thin coat of Aquaseal or similar flexible waterproof sealant to the sidewalls before your first race. It adds a few minutes of prep but meaningfully extends the lifespan of tyres that aren't cheap to replace.
Punctures are the other conversation. Challenge tubulars can accept latex-based sealant injected through the valve, and for small flint cuts on flinty B-roads or gravel it's a reasonable insurance policy. The critical word there is latex-safe. The internal seamless latex tube is one of the tyre's defining features, and ammonia-heavy sealants will chemically degrade it from the inside out - sometimes invisibly, until the tube fails mid-ride. Check the sealant's compatibility before you inject anything. The PPS (Puncture Protection Strip) and tighter-woven PPS Ganzo aramid fabric layers built into certain Challenge models add a physical barrier between the tread and casing, which helps on the sharp stuff, but they're not a substitute for correct sealant choice.
Storage matters too. Keep unmounted tubulars inflated slightly and away from direct sunlight - UV degrades rubber compounds faster than most people realise, and a tyre left flat in a garage for three months will have creases in the casing that affect how it beds onto the rim. Rotate your race and training sets and you'll get far more from each tyre.
Challenge Tubulars FAQs
How do you install a Challenge tubular tyre?
You apply thin layers of tubular rim cement (mastic) to both the rim bed and the tyre's base tape, letting each layer tack off before mounting. Traditional gluing is strongly preferred over tubular tape for cyclocross racing - low pressures and hard cornering make a properly glued tyre far less likely to roll off the rim mid-race. Allow the glue to fully cure before riding.
What is the difference between Challenge tubulars and open tubulars?
A Challenge tubular is a fully enclosed tyre sewn around a seamless latex inner tube, designed to be glued onto a tubular-specific rim. An open tubular shares the same handmade high-TPI casing and rubber compound but has standard aramid beads, so it mounts onto a normal clincher rim without glue. Same feel in the casing; completely different installation and rim requirement.
Can you put sealant in a Challenge tubular tyre?
Yes, but only a latex-compatible sealant injected through the valve. The internal tube is seamless latex, and any sealant containing significant ammonia will degrade it chemically over time - sometimes without obvious signs until the tyre fails. Check the label before you inject. For small flint cuts it works well; it won't save a larger puncture.