Beto Mini Pumps
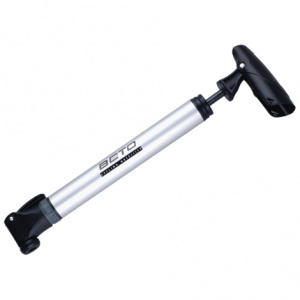
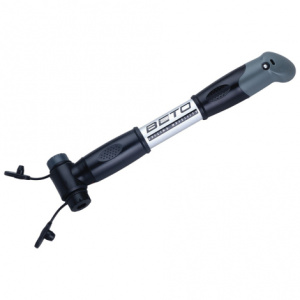
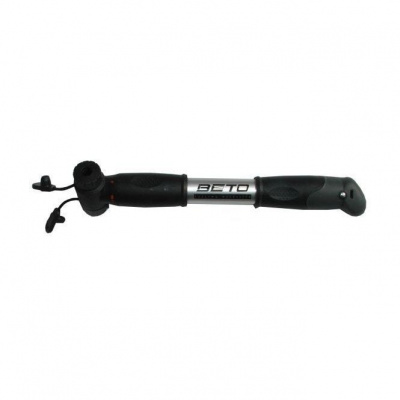
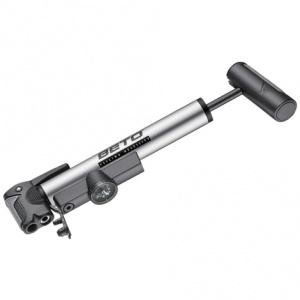
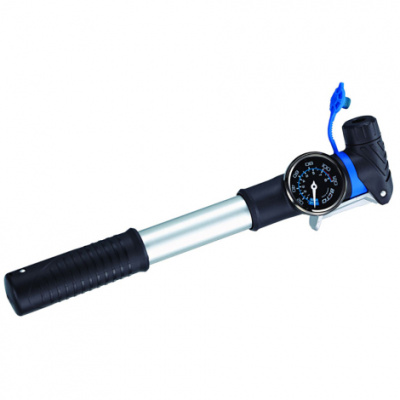
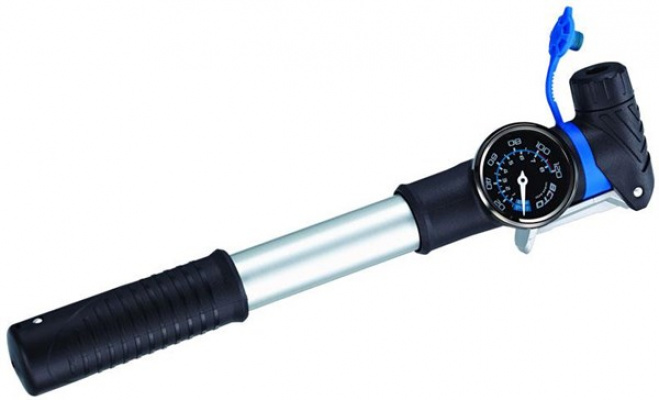
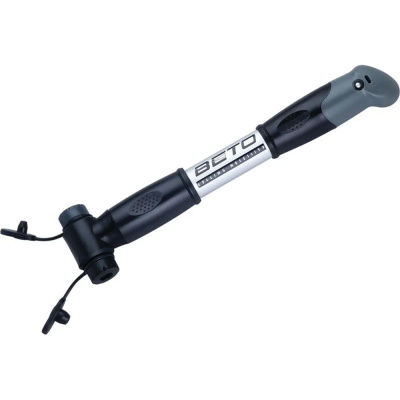
Beto mini pumps have quietly become one of the most sensible things you can bolt to a frame or stuff into a jersey pocket - reliable, well-priced, and actually engineered rather than just moulded. A puncture at the top of a Welsh lane or mid-way through a Peak District loop is bad enough without a pump that fights you. Beto's range sidesteps that with the EZ Head, an auto-switching valve connector that fits both Presta and Schrader valves without you having to disassemble anything with cold, muddy fingers. That alone sets the tone.
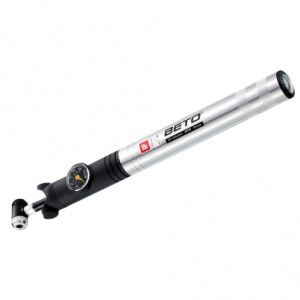
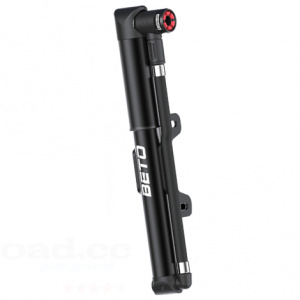
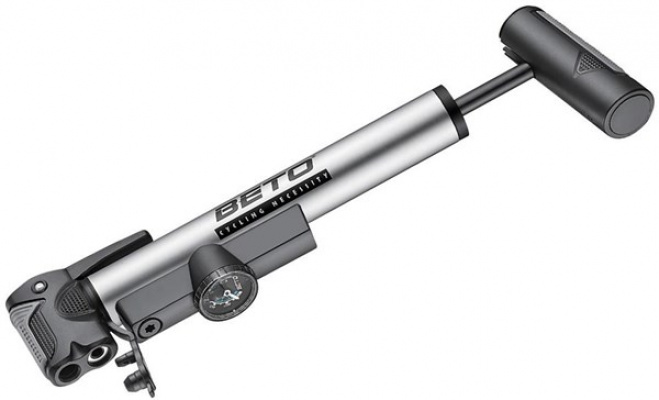
There's also Dual Action inflation on the higher-end models - air moves on both the push and the pull stroke, so you're cutting your roadside inflation time roughly in half. Need to seat a stubborn 2.4-inch MTB tyre? There's a high volume barrel for that. Running 28mm road rubber at 90 PSI through winter? A high pressure telescopic model handles it without turning your arms to jelly. The mounting bracket sits neatly under a bottle cage using standard boss spacing, keeping the pump secure rather than rattling around in your back pocket for three hours. Practical, honest kit that does exactly what you need it to do.


Prices and availability can change quickly. Delivery charges are not always included in listed prices.
Final price, stock status and delivery terms are set by retailer. We may receive a commission on purchases made.
Matching the Right Beto Pump to Your Valve and Discipline
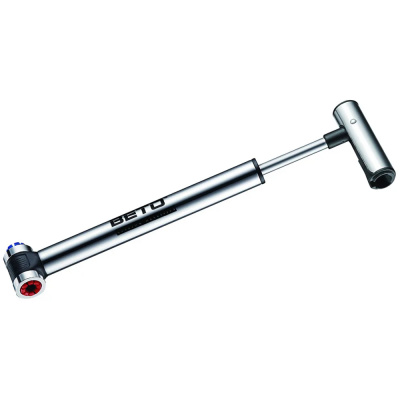
The first decision is straightforward: high volume vs high pressure. HV pumps have a wider bore designed to move large amounts of air quickly - ideal for mountain bike or gravel tyres where you're chasing volume at relatively low PSI. HP models use a narrower telescopic barrel to build pressure incrementally, which is what you need to hit 80 - 100 PSI on a road or cyclocross tyre without the pump locking solid on you. Pick the wrong type and you'll either run out of stroke on a road tyre or spend ten minutes getting a 29er to a rideable pressure.
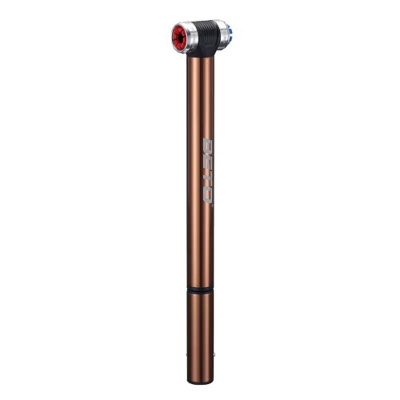
Valve compatibility used to mean faffing with internal grommets. Beto's EZ Head technology removes that entirely - push it onto a Presta valve, lock the thumb lever, and you're pumping. The same head self-adjusts for a Schrader valve without swapping parts. On a wet October morning in the Chilterns with numb fingers, that matters more than any spec sheet figure. For models without EZ Head, there's a reversible internal insert - unscrew the cap, flip the rubber grommet to the narrower side for Presta, reassemble. Thirty seconds once you've done it once.
Standard mounting bracket boss spacing (64mm) means the included bracket drops straight under any bottle cage on a road, gravel, or trail bike. No adapters, no zip ties. Worth checking the bracket is included in the box if you're buying online - some bare-pump listings don't include it. A quick note on scope: mini pumps are emergency inflation tools, full stop. For suspension setup, head to our Beto shock pumps page. For pre-ride home inflation to exact pressures, the Beto track pumps page is where you want to be.
Alloy vs Composite: Where the Money Goes
Beto's range splits into two clear camps. The entry-level composite plastic pumps are light, compact, and honest about what they are - single-stroke inflation, good enough PSI ceiling for most casual use, and a price that means losing one mid-ride won't ruin your week. The barrels flex slightly under load at higher pressures, which is normal for the material but does mean efficiency drops a little as you push past 60 PSI. For an occasional-use road pump or a gravel rider who carries CO2 as a primary and keeps the mini as a backup, they're perfectly reasonable.
Step up to the CNC machined aluminum models and the difference is tactile immediately. The barrel walls don't flex. Heat generated at high PSI - and it does build, especially with Dual Action - dissipates faster through alloy than composite, which protects the O-rings over time. The Dual Action pumping mechanism itself is the bigger upgrade: air moves on both the compression and return strokes, so you're effectively doubling the work done per cycle. Getting a road tyre from flat to 90 PSI takes noticeably fewer strokes and less elapsed time. If you ride regularly and want a pump that lasts several seasons rather than one, the alloy models are the ones to reach for. Comparable options from Topeak and Lezyne sit in a similar tier, though Beto typically undercuts both on price for equivalent alloy construction.
The composite pumps suit riders who want minimal weight and don't inflate from flat more than a handful of times a year. The alloy range suits anyone who wants a tool they can rely on in a Scottish November - stiff, fast, and built to last. The gap in weight between the two is modest. The gap in longevity is not.
Keeping a Beto Pump Working Through a UK Winter
British lanes in autumn and winter are essentially a pump durability test. Grit, mud, and standing water find their way into anything left exposed, and the EZ Head is no exception - the valve seat and internal seals will degrade faster if the head is left open to contamination. Always buy a Beto pump with a dust cap fitted, and replace it after every use. It's a five-second habit that keeps the head sealing cleanly for years rather than months.
The main shaft O-ring is the component most likely to cause gradual compression loss. A single drop of silicone lubricant - not WD-40, which dries out rubber - worked into the shaft every few months keeps it supple and airtight. You'll notice compression dropping off before a complete seal failure, so it's easy to catch early. If your compact Beto cycle pump starts feeling noticeably easier to push but the tyre isn't getting harder, the O-ring is the first thing to check.
On the mounting bracket: the rubber retention strap that holds the pump body in place will harden and crack if left on a bike exposed to UV and temperature swings. Check it periodically - a cracked strap on a rough bridleway means the pump is gone before you've noticed. Replacements are cheap and widely available. If you're doing regular trail riding in the kind of conditions that rattle everything loose, consider supplementing the strap with a small Velcro wrap as a secondary retention point. Riders pairing a Beto mini with tube patches and tyre levers from SKS or Zéfal often find the whole roadside repair kit fits neatly into a small saddle bag - worth thinking about if you're moving away from frame-mounting the pump entirely.
Beto Mini Pumps FAQs
How do you use a Beto mini pump on a Presta valve?
On EZ Head models, push the head firmly onto the open Presta valve and lock the thumb lever - no internal adjustments needed. On standard reversible heads, unscrew the cap, flip the rubber grommet and plastic insert to the narrower Presta side, reassemble, then attach and pump. Make sure the valve core is fully open before you start or you'll get no airflow.
Are Beto mini pumps suitable for road bikes?
Yes, provided you choose a High Pressure model with a narrower telescopic barrel. These reach the 80 - 100 PSI road tyres require. A High Volume model will become too stiff to pump effectively past around 40 PSI - fine for an MTB, useless for 25mm road rubber. Check the listed maximum PSI before buying and make sure it exceeds your target tyre pressure by a reasonable margin.
How do I mount a Beto mini pump to my bike?
Most Beto mini pumps include a bracket that fits under your bottle cage using standard 64mm frame boss spacing - no drilling or adapters required. Feed the rubber retention strap firmly over the pump body once mounted. On rough roads or trails, check the strap periodically for cracking and replace it if it's hardened; a loose pump on a rocky descent won't be there when you need it.