M Part Track Pumps
M Part track pumps are the kind of no-nonsense workshop staple that earns its place on the garage floor and stays there. Built around high-volume steel barrels and stable base plates, they're designed for riders who want accurate, repeatable tyre inflation without spending silly money on a pump that'll mostly live next to the bike stand. Whether you're seating a stubborn tubeless tyre on a set of MTB hoops or nudging a road bike up past 100 PSI for a Sunday club run, M Part's floor pumps handle both without fuss. The twin-head designs switch cleanly between Presta and Schrader valves - no rummaging for adapters, no cursing in a cold garage. Oversized analog gauges are easy to read in the dim light of an unheated shed, which matters more than it sounds on a dark January morning. Compared to budget alternatives from Beto or SKS, M Part sits in a practical middle ground: solidly built, straightforwardly specified, and priced for the home mechanic rather than the sponsored workshop. Browse the range below to find the right model for your setup.

Prices and availability can change quickly. Delivery charges are not always included in listed prices.
Final price, stock status and delivery terms are set by retailer. We may receive a commission on purchases made.
Valve Compatibility and Getting the Gauge Right
The twin-valve head is where M Part's floor pumps earn their keep. Most models use either an auto-select twin-hole head or a dedicated dual-mode design with a locking lever - both approaches let you move between Presta and Schrader valves without swapping anything over. On a Presta valve, push the head firmly down onto the open valve stem before flipping the locking lever; if the lever goes over too easily, the head isn't seated deep enough and you'll get a hiss of escaping air the moment pressure builds. On a twin-hole head, make sure you're using the smaller hole for Presta - it's an obvious point, but easy to fumble when you're rushing before a ride.
High-pressure blow-offs at the valve are almost always a seating issue rather than a pump fault. Wet or muddy valve stems don't help - give the valve a quick wipe before you engage the head, especially after a cross or gravel session where grit can prevent a clean seal. M Part's locking levers are firm enough to hold at road pressures without creaking loose, which is where cheaper pump heads tend to let you down around 100 PSI and above.
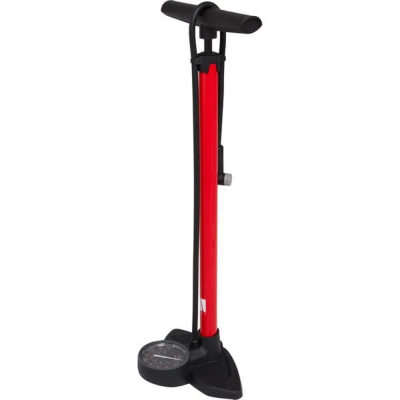
The oversized analog pressure gauges fitted across the M Part range are a genuine practical advantage. A large dial face with clear bar and PSI markings is far easier to read accurately than the small, poorly lit gauges on entry-level pumps - and precise pressure matters, particularly with tubeless setups where running 2 PSI low on a gravel tyre can mean the difference between grip and a rolled bead on a fast Peaks descent. Need a portable solution for mid-ride punctures? Explore our dedicated M Part Mini Pumps page for frame-mounted and pocket-sized inflation options.
Which M Part Floor Pump for Your Setup
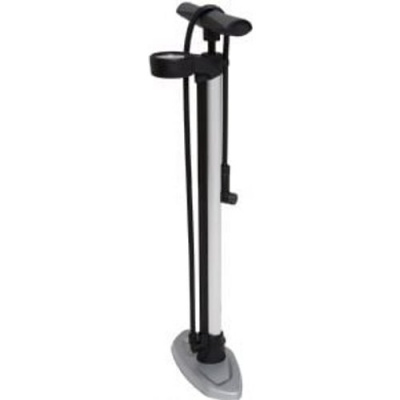
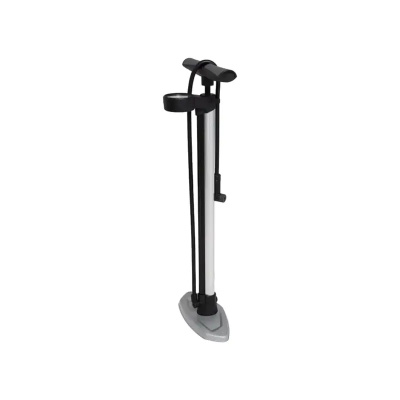
M Part's track pump lineup isn't vast, but the range covers the two main use cases clearly. Entry-level Essential models are lighter, use shorter steel barrels, and are well suited to casual top-ups - commuter tyres, hybrid bikes, the odd mountain bike - where you're not regularly pushing past 80 PSI. The volume per stroke is adequate for standard clinchers and tubed MTB tyres, and the base plates are stable enough for everyday use. If your garage sees mostly leisure cycling and family bikes, the Essential range does the job without any surplus.
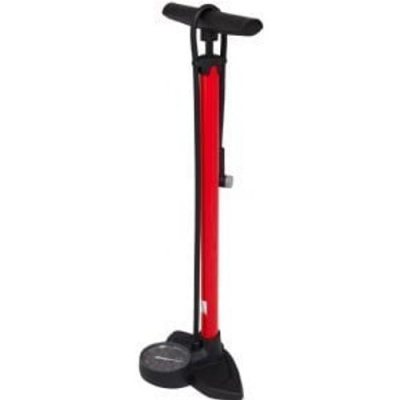
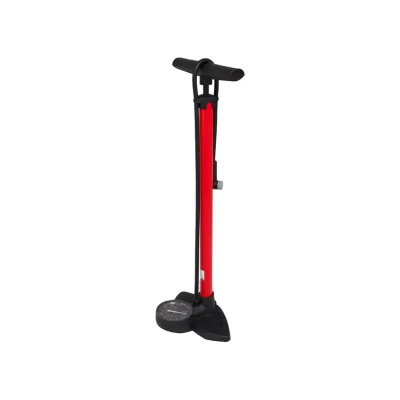
Step up to M Part's heavier-duty workshop models and you get taller steel barrels that move more air per stroke - noticeably quicker when you're inflating a 2.4-inch MTB tyre from flat. The wider base plates stay planted on uneven garage floors without rocking, the maximum PSI limits reach comfortably into road and track territory, and the construction generally feels more substantial under load. For riders running tubeless on either mountain or gravel bikes, the higher-volume output makes seating beads more realistic - though for stubborn setups you'll still want a compressor or a dedicated blast tank. The extra investment in the workshop tier buys you longevity and precision more than raw capability; both ranges inflate tyres, but the heavier model does it more efficiently and will take daily use in a busy workshop without the hose fittings loosening or the gauge fogging over time. If you're also sorting out storage between rides, M Part storage stands and hooks pair neatly with the workshop setup.
Keeping Your Pump Running Through a UK Winter
Cold, unheated garages are hard on pump components - particularly the internal plunger O-ring, which dries out and loses its seal faster than most riders expect. A thin smear of silicone grease on the O-ring once or twice a year keeps it pliable and airtight; petroleum-based lubricants will swell the rubber and cause more problems than they solve. If your pump starts feeling spongy or you notice a loss of pressure on the upstroke, the O-ring is the first thing to check.
The rubber grommet inside the twin-head is the other wear item. It's what creates the seal around the valve stem, and after a few seasons of use - especially if you're engaging the head quickly and at an angle - it can distort or crack. Replacements are cheap and straightforward to fit; if the head is hissing under pressure even with good valve engagement, the grommet is almost certainly the culprit rather than anything more serious.
M Part's choice of steel barrels and high-impact polymer base plates is directly relevant to UK storage conditions. Cheap plastic bases can become brittle in sub-zero garage temperatures and crack under the lateral stress of pumping - a steel or reinforced alloy base simply doesn't have that failure mode. It's worth checking the base plate fixings annually too; the bolts can work loose over time on textured concrete floors. A quick once-over with a screwdriver takes thirty seconds and saves a wobbly pump mid-session. Pair the pump with a set of M Part tyre levers and you've got the core of a functional home workshop sorted. For a broader comparison of floor pump options, Topeak and Lezyne both offer competitive alternatives at the higher end if budget allows.
M Part Track Pumps FAQs
How do I use an M Part track pump on a Presta valve?
Open the Presta valve by unscrewing the brass locknut a few turns, then push the pump head firmly down onto the stem. On a twin-hole head, use the smaller aperture. Flip the locking lever to secure the seal before you start pumping - if the lever feels loose or doesn't click over with resistance, reseat the head before building pressure.
Why is my track pump leaking air at the valve?
Nine times out of ten it's an incomplete seal - the pump head wasn't pushed far enough down before the locking lever was flipped. Check the valve core is straight and wipe any grit off the stem first. If it still hisses with correct engagement, the rubber grommet inside the pump head has worn and needs replacing; it's a simple, inexpensive fix.
What is the maximum PSI for an M Part track pump?
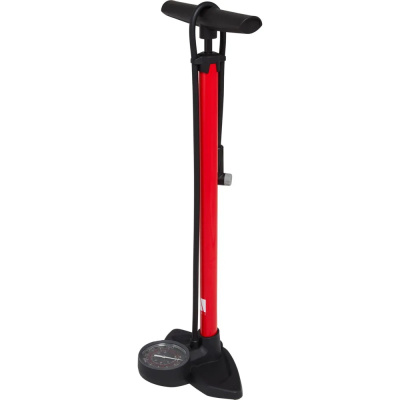
Most M Part track pumps are rated to between 120 and 160 PSI, which comfortably covers road, track, and gravel applications. Always cross-reference the pump's gauge limit with the maximum pressure printed on your tyre sidewall - the tyre's limit is the one that matters, not how far the pump can theoretically go.